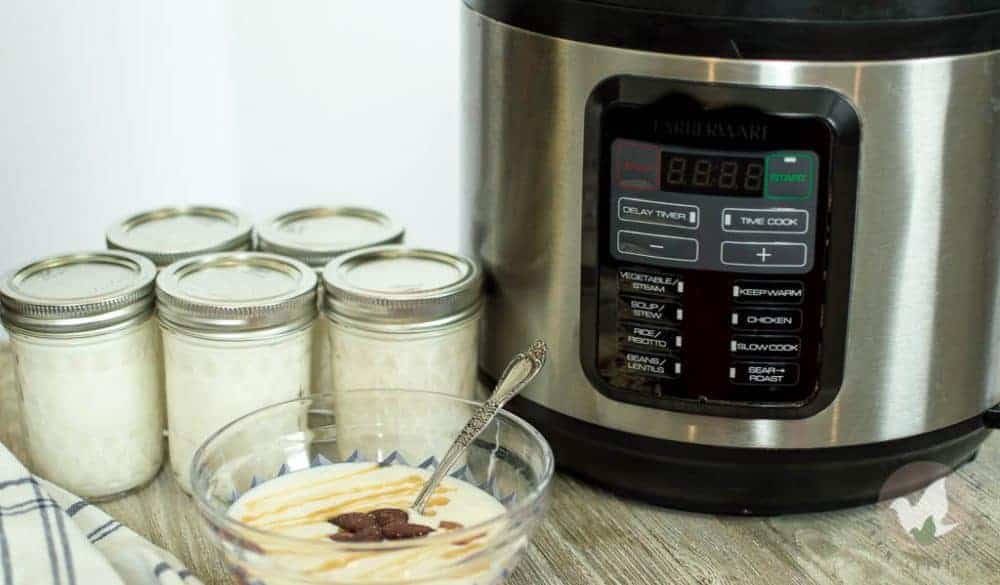
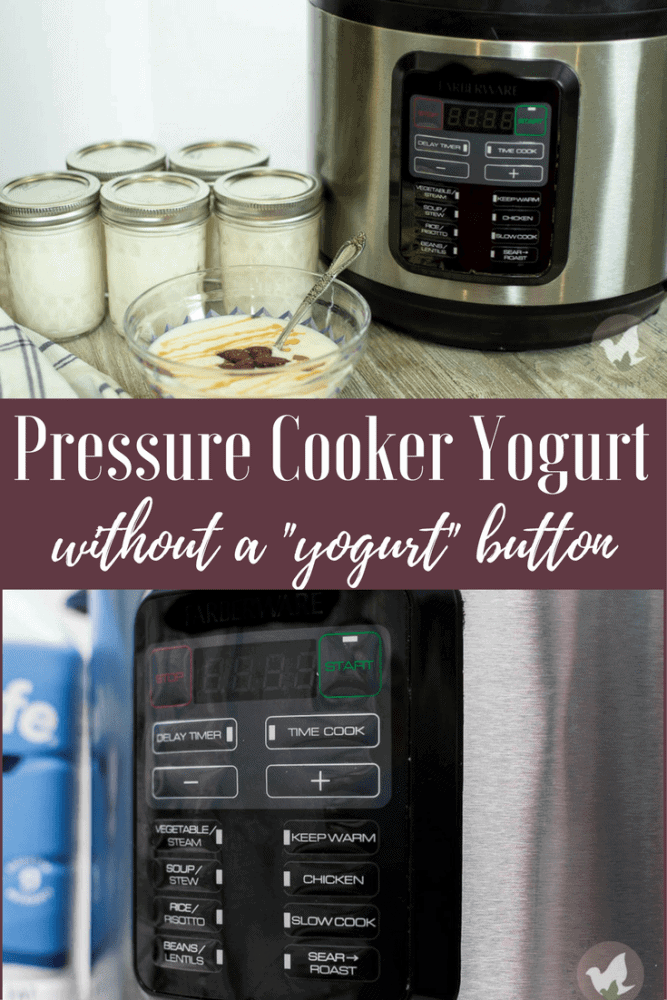
You can make yogurt in your pressure cooker, even if you don’t have a yogurt button!
I’m so serious, it’s so simple, and it’s literally gonna be the best yogurt you’ve ever tasted in you’re life. You’ll probably even wonder why you didn’t figure this out sooner.
First things first, I’m not a brand snob. So you won’t hear me rambling about the top of the line things unless I truly love them.
In all actuality, there are very few things that I actually recommend by brand; other than toilet paper, dish soap, and Q-tips– I’m an off-brand type of girl. Whatever’s gonna save me some money, I’m good with it.
Which is why I don’t have an Instant Pot *the crowd gasps* or any type of pressure cooker with a yogurt function.
Are you really all that surprised? I mean, didn’t you know that you can make delicious pressure cooker yogurt even if you don’t have a yogurt button?
You’re about to find out.
My Top 3 Pressure Cooker Choices
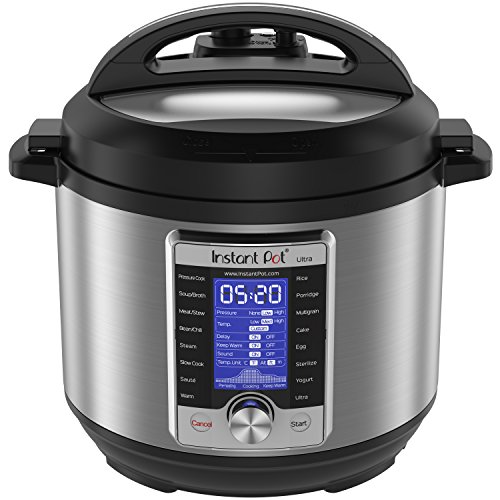
This is the 8 quart Instant Pot Ultra, it has the yogurt function. However, this is a top of the line model and is pricey.
If you can catch it under $150, that’s an amazing deal and you shouldn’t pass it up!
This one is my personal favorite Instant Pot. I have a 6 person family and often cook for others. This one is great for cooking to freeze, cooking large batches and cooking for families!
I paid over $100 for it, so if you see it cheaper than that, know that you’re getting a good price! Mealthy is a newer brand to the market, but they are surely making strides with their new Crisp Lid that essentially makes any pressure cooker an air fryer.
My trusty Farberware Pressure Cooker is no longer sold, so I’m told this is the next best thing. And, it’s a great budget pressure cooker too!
It sure didn’t take me long to find out that you can make pressure cooker yogurt in any kind of pressure cooker, even one without a yogurt button. Sure, it takes a couple of extra steps. But when you taste the creamy deliciousness of pressure cooker yogurt, it won’t matter anymore.
I’m not against big brands, I just ain’t rich. But sometimes I cut corners where we can and it makes me feel good to get something at a great deal.
I’ve been having my electric pressure cooker for a while, (5 years?) even before they got extremely popular. Although I do wish I had gone with Instant Pot first.
Between the simple functions and great customer service, they’re well worth the price. Especially since I’ve already had to order replacement parts from China for my off-brand.
But, if you’re like me and your pressure cooker doesn’t have a yogurt button, don’t fret. We’re gonna help you make some of the best pressure cooker yogurts, and your lack of buttons will no longer be an issue.
Things to know about Pressure Cooker Yogurt
There seems to be a lot of discussion as to what kind of milk you should use when you make yogurt in your pressure cooker. Honestly, after trial, error, and research, there’s little truth to a lot of claims.
I’m just going to share with you what I’ve gathered and you can do with it what you may.
If you are using the “no-boil” or cold start method, or your pot has a yogurt function, you should be using ultra-pasteurized milk. Ultra-pasteurized milk goes through a heating process that kills all other bacterias before you receive the milk, which means it is ready to be used in yogurt with no “bad” bacteria competition.
If you don’t have a yogurt button, or if you’re using the boil method, feel free to use any type of milk. You’ll be heating the milk to over 180°F, killing all other bacterias which will make your milk safe from “bad” bacteria.
Whole milk will make the creamiest yogurt, while lower fat brands will make a thinner yogurt. Straining can help with thickening.
You can use any type of starter for your yogurt, as long as it has both live and active cultures listed in the ingredients on the back. Choose the brand and flavor you like or just go with plain.
Once you make your yogurt, save some for later when you’ll need more starter for a new batch!
I’ve seen recipes that call for the yogurt starter in amounts of anywhere between 2 heaping tablespoons and 1/4 cup. The more you add, the thicker the result. But I don’t recommend anything more than 1/4 cup.
A sweetener or flavor can be after the yogurt is cooled and strained.
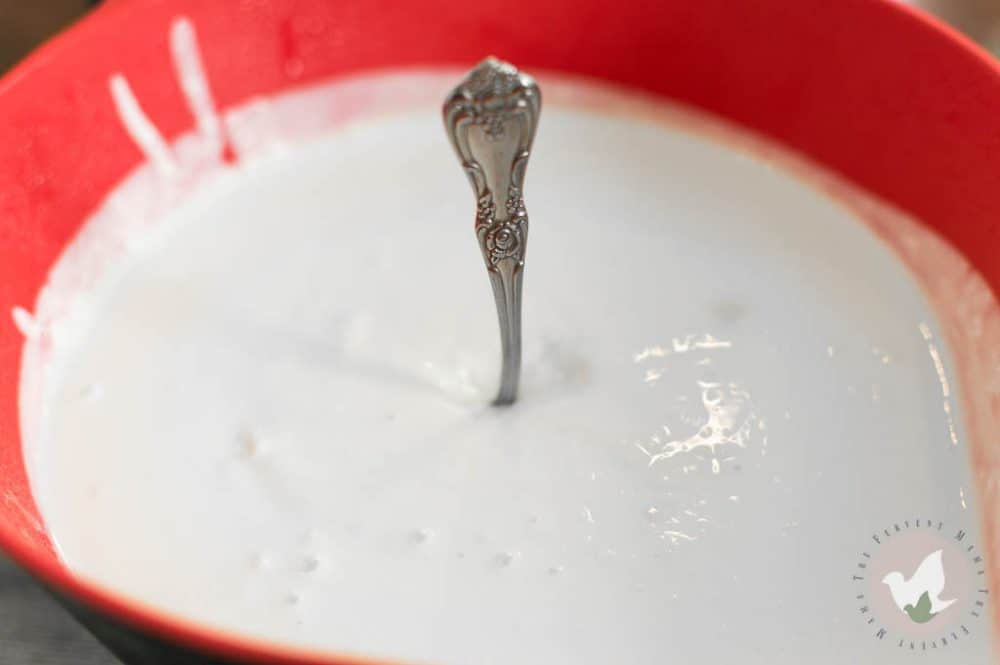
If your yogurt seems a little lumpy, use a hand or standing mixer to mix thoroughly!
Why make your own yogurt?
Homemade food is so much better than prepacked food. Johns Hopkins agrees that you’re better off cooking at home! Fewer preservatives, carbs, processed sugars, dyes, etc.
This yogurt tastes sooo much better than store-bought.
Because you’re cooking it in your own kitchen, you know how fresh it is!
It’s fun! Who doesn’t love creating delicious meals!?
What you’ll need to make Pressure Cooker Yogurt
There aren’t too many fancy gadgets that you’ll need to make yogurt if you don’t have a yogurt button. Besides your ingredients, you don’t need much!
If you cook, most of these things you probably have on hand already! But if not, we’re sharing our favorites for you to choose from!
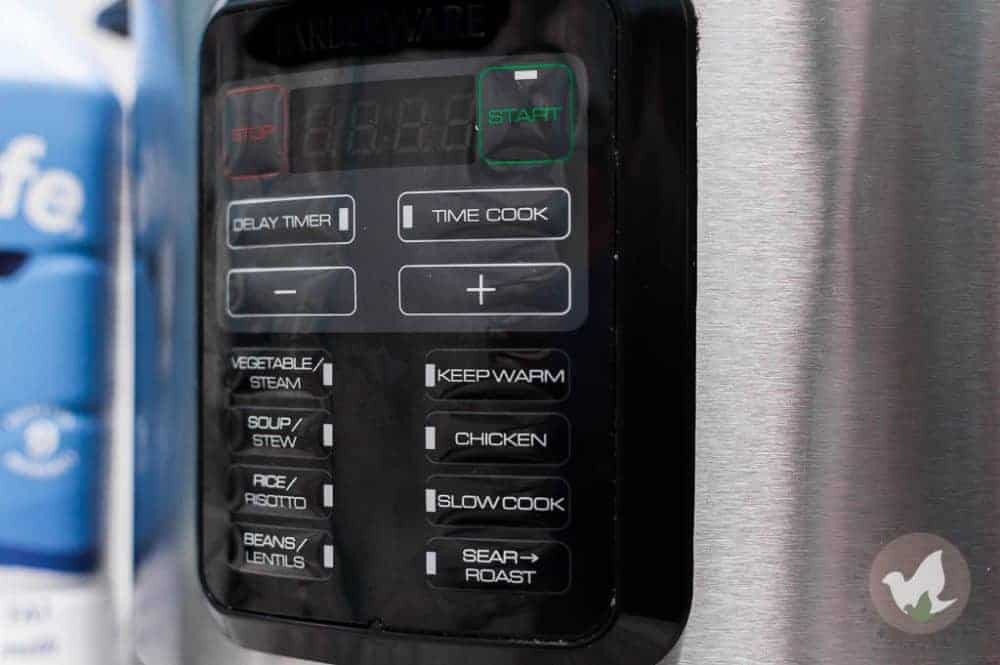
Of course, you’ll need a pressure cooker, but the brand doesn’t really matter as long as you have some type of sear/saute function.
The other thing you’ll absolutely need is a cooking thermometer. One that you can put into the pot and monitor easily and efficiently, preferably hands-free. Especially since you’ll be doing some stirring and may need both hands.
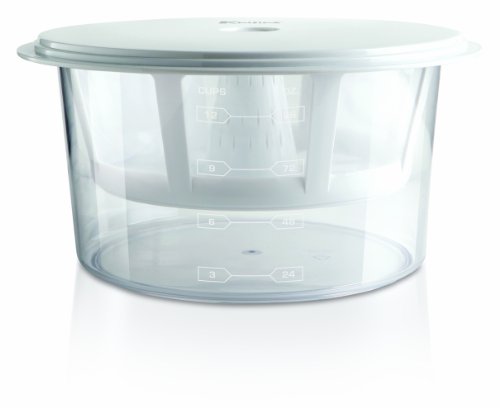
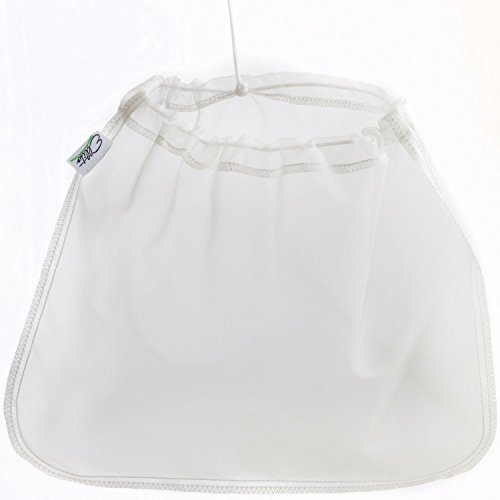
Depending on the thickness of yogurt you prefer, you make need a cheesecloth or a yogurt strainer. But neither of those are absolutely necessary.
How to Cook Pressure Cooker Yogurt, when you don’t have a yogurt button
Usually, when making pressure cooker yogurt, you’ll want to just press the button and leave it. However, since we don’t have a yogurt button, we’ll be adding a few more steps.
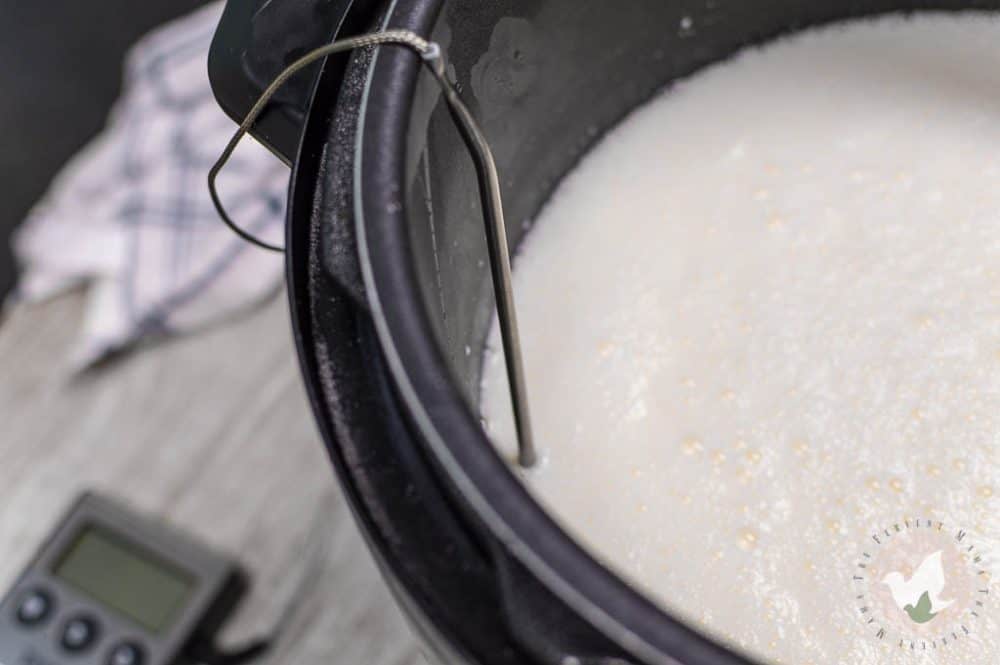
But don’t worry, everything is still very simple. Because we start with boiling the milk, you’ll want to be sure that your pot is room temp or cold to start so that the milk doesn’t scorch.
Pour a full gallon of whatever milk you choose into your pressure cooker and press the Sear/Saute function.
This is the step that gets just a little tricky.
We’ll be bringing the yogurt to 180°F to kill all bacteria. Not only do you need to watch the temp carefully, but you’ll want to stir the milk often so that it doesn’t curdle or burn.
Once the milk reaches 180°F, you can just unplug the pot. Now, you’ll want to let the milk cool to 110°F, stirring can help cool the yogurt faster, but it isn’t necessary. Once the yogurt cools to 110°F, add your starter and stir until completely incorporated.
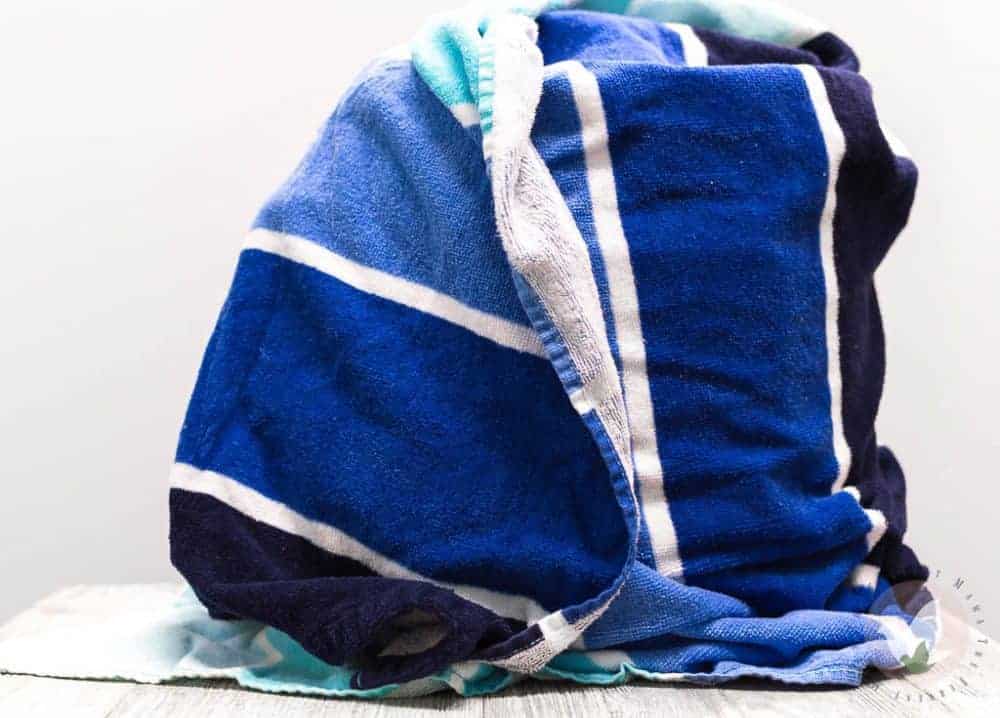
Immediately close the lid of your pressure cooker and lock it. This will begin the incubation process. Because your pot doesn’t have a yogurt button, it won’t keep the yogurt warming. Wrapping the whole pressure cooker in a large beach towel helps the brooding.
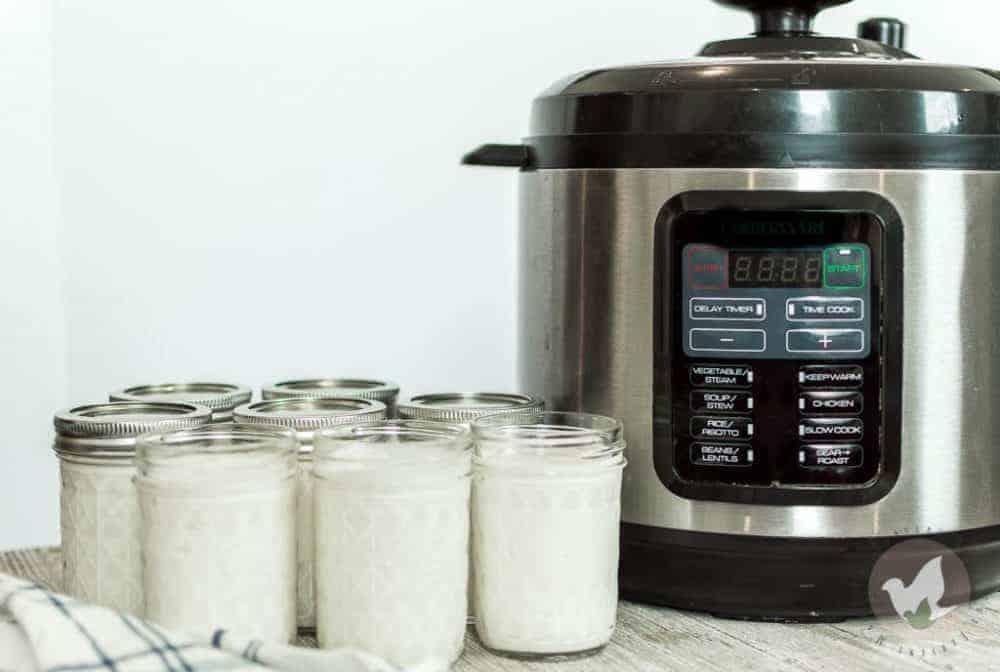
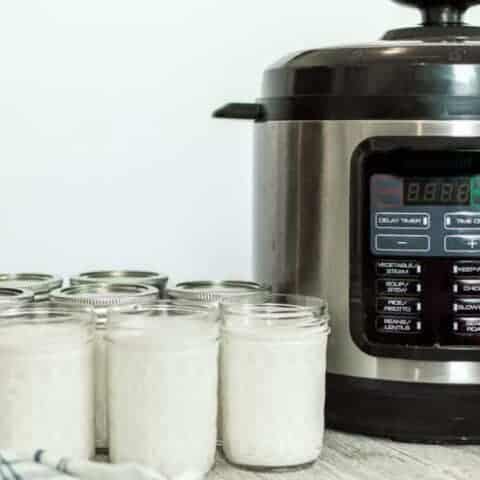
You’ll want to incubate for at least 8 hours, the longer you incubate the thicker and creamier your yogurt will be. Afterward, you can transfer your yogurt to another bowl and chill in the icebox for at least 4 hours.
If you prefer a thicker yogurt, you can strain while chilling. Once your pressure cooker yogurt has chilled, you’re pretty much ready to eat it! It’s done!
You can still make pressure cooker yogurt if you don't have a yogurt button! We're showing you how to easily make your own homemade yogurt that is over the top delicious!
Ingredients
1 gallon milk
2 tbs starter yogurt , heaping, with live and active cultures
1 tbs vanilla, optional
1/2 cup honey, optional
Instructions
Start with a cool or room temp pot. You can stick your pot in the icebox, or put a couple pieces of ice in the liner for a few minutes to help cool it.
Pour 1-gallon milk into the pressure cooker.
Turn on the Sear/Saute function.
You will be bringing your milk to 180°F. Use a thermometer to check the temp often and be sure to stir so that the milk does not scorch or burn at the bottom.
Once the milk reaches 180°F, turn off the pot. You'll want to let the yogurt cool to 110°F. Be sure that you are still checking the temp often and stirring to help the yogurt to cool.
Once your milk has reached 110°F, stir in 2 tablespoons starter yogurt and whisk until incorporated.
Immediately close the lid and lock. Wrap in a large beach towel, or two regular towels and incubate for at least 8 hours.
After 8 hours, transfer your yogurt to the icebox and chill for at least 4 hours. If your yogurt is thin, you can also strain it while chilling.
If your yogurt is lumpy or inconsistent, whip it up in a hand or stand mixer!
After 4 hours of chilling, you can add your preferred sweetener. Your yogurt is finished!
You can refrigerate the pressure cooker yogurt in the icebox for up to 2 weeks and in the freezer for up to 3.
Please leave a comment on the blog or share a photo on Instagram
Flavoring your yogurt
If you like vanilla yogurt, one tablespoon per gallon of milk gives it a nice flavor. If you prefer something lighter like honey, try up to 1/2 cup per gallon of milk used.
Personally, I like to make the yogurt plain and then add toppings to it.
My favorite is to top it with granola, almonds, fresh strawberries, and a little honey!
Extra Pressure Cooker Accessories
If you’re looking for pressure cooker accessories, check out our popular post on the BEST Pressure Cooker Accessories that are non-brand specific and can work for almost any pot!
Before you buy a pressure cooker…
Buying an electric pressure cooker can be an overwhelmingly daunting task.
Now, you have a plan, and you’re less likely to be frustrated down the road.
Are you looking for a community that loves their pressure cookers as much as you do? Or are you a pressure cooker newbie? Join our Facebook Community Pressure Cooker Family Recipes where you can be free to share your favorite recipes, ask questions, or share great tips and tricks too!