How to Make Wool Dryer Balls- A Simple DIY
The Fervent Mama uses Affiliate Links. See our disclosure policy here.
Look, I’m only part crunchy. I like natural goods, homemade stuff, cloth diapers and all, but I’m also kind of lazy. So, I can’t fully commit to the crunchy lifestyle.
But there are some things that I won’t let go of, like essential oils and super easy DIY’s, like this one.
I’ve been using these DIY wool dryer balls for a couple of years now, and I’ve completely replaced those funky chemical-ridden dryer sheets.
What I love about these wool dryer balls is that they don’t just replace dryer sheets, they beat them. So I’m gonna show you how to make wool dryer balls.
Have you ever looked into what’s in a dryer sheet? Just go ahead and google it. Look, I’ll save you some time and share this article from Natural Living Ideas called Here’s Why You Should Never Use Dryer Sheets & What To Use Instead– just give that a quick read.
So if I’m gonna convince you to use wool dryer balls, then when need to talk about the benefits of using them. We already know that wool dryer balls are a better option because they are all-natural, safe, and non-toxic, but what else is there?
Why should you use Wool Dryer Balls?
There are many benefits to using these wool balls in your dryer, but we’ll go over a few of them.
Using wool dryer balls in your laundry routine helps to reduce dry time in a few different ways.
- They help to extract and absorb moisture as they come in contact with clothes.
- They separate clothing as it spins to help more airflow throughout, thus decreasing the amount of time it takes to dry.
- The extra airflow is allowing the clothing to separate, the extra airflow helps to decrease the amount of wrinkling that happens in the dryer.
- Because there is no chemicals present, the absorbancy of towels and workout clothes remains in-tact and you don’t have to worry about stinky laundry.
- The wool acts as a natural softener, allowing your clothes to come out luxurious without toxins.

Wondering where to get Wool Dryer Balls?
You absolutely do not have to make your own wool dryer balls. It’s fun, and a heck of a lot cheaper, but you can buy them just as quickly and easily if that’s your preference.
If you’re signed up for Young Living, then you can get some great quality wool dryer balls in the marketplace. Don’t forget to use those Essential Rewards points!
You can also hit up Amazon if you like shopping online. Or even Walmart, Target, and other big-box stores like Sams and Costco usually have them in the laundry section of the home-goods department.
But even your natural stores like Trader Joes and Whole Foods usually have them too!
How do wool dryer balls work?
Very simply, wool dryer balls act as a reflector, helping to separate the clothes as they tumble and reducing dry time. As they turn, the balls help bounce the moisture around, keeping the air inside the dryer slightly humid, reducing static cling.
The durable wool fabric makes these dryer balls last forever. Not literally forever, but close. And a bonus tip? If you’re struggling with static cling, add a small safety pin to the wool dryer balls.
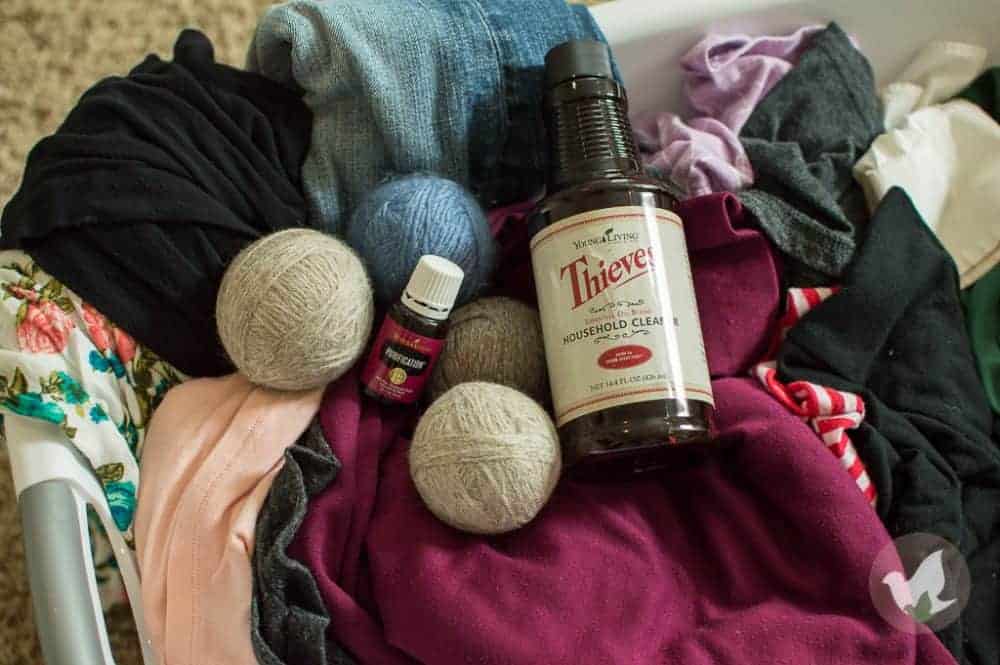
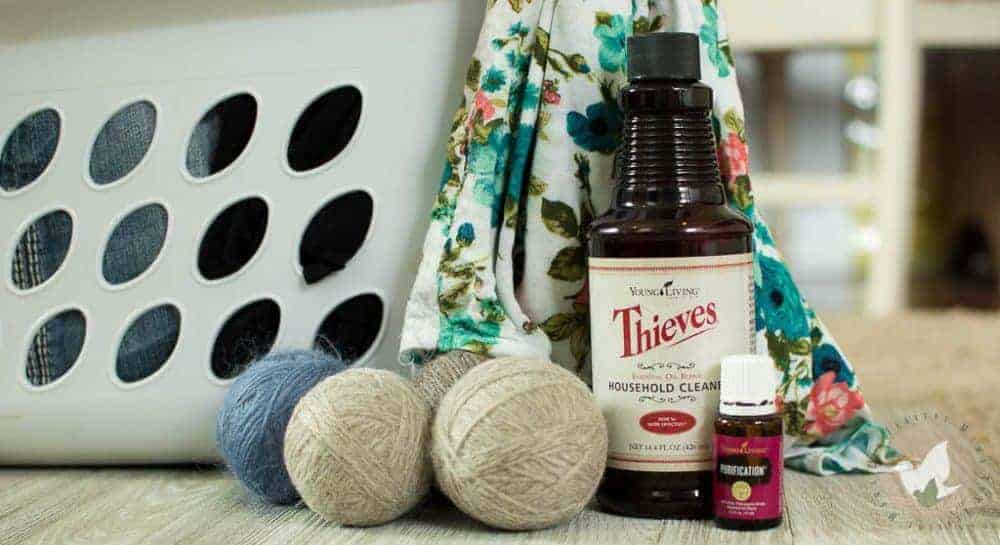
Clothing coming in contact with the metal will help reduce cling. And for scent’s sake, add a few drops of your favorite essential oil (like Joy, Purification, or Lavender).
Now that I’m done jabbering, I can finally get to the ‘how to make wool dryer balls’ part. It’s absolutely simple to make and takes a minimal amount of time. I made this short video for you to easily follow along, or you can read below for step by step instructions.
How to Make Wool Dryer Balls
Materials:
- 100% wool yarn; 1 spool of wool yarn makes two dryer balls, I use about 4 wool dryer balls per load.
- nylon stockings
- scissors
Process:
Twist into a tight ball, about the size of a tennis ball
To do this, you will begin circling the wool around your pointer and middle finger. Once you make about 10 loops around, you’ll pull out your fingers and wrap around the middle of your loops tightly.
You’ll keep turning and wrapping to form a spherical ball shape. If you need help with this step, refer to the video tutorial above.
Tie off your ball so that it doesn’t come loose
Once your ball reaches the desired size, you can gently weave the string under a few layers of the ball to help secure it. Remember, your layers should remain tight, so do this carefully.
Put the wool balls into a nylon stocking
This step is really important because if you don’t do it properly, your dryer balls will not “melt”.
Place one ball into the foot of the stocking and very tightly stretch the stocking around the ball. Knot the stocking around the ball as tight as possible. Add the next ball on top of your knot and repeat.
Continue this process until all of your dryer balls are inside the stocking and knotted tightly.
Wash and Dry
Put your snake of dryer balls into your washing machine and wash them, WITHOUT detergent, on the hottest setting possible.
When they finish, dry them on the hottest setting possible. Dry them completely and then repeat the wash and dry step again.
Removal
Once you’ve completed the double wash and dry, your dryer balls should be ready to use! Remove them from the nylon stocking and they should come out “felted”
Your DIY wool dryer balls should now look like something similar to the texture of a tennis ball and that’s how you know it was done correctly.
Now, you can use them just like you would dryer sheets.
Problems?
If your dryer balls didn’t come out felted together, then there was either a mixup with your materials or a mistake in your process.
The first step is to make sure your yarn was 100% wool and that the stockings were Nylon.
If that is true, then go back to step 3 and put them back into a nylon stocking, wrap super tight and try the wash-dry again. Maybe your machine isn’t getting the water that is hot enough.
You could always boil the wool ball snake and then let it cool enough to handle, then back to the dryer on the hottest setting.
If all else fails, buy some wool dryer balls, okay? Your clothes will thank you later. So will your health and your wallet.
In all honesty, the twisting of the wool is the most tedious part, everything else is nearly hands-off or simple. Just put on your favorite Netflix show and binge watch while you twist.
You’ll be done in no time and you’ll feel a lot better knowing that you helped rid your family of a little toxicity.


